Accessibility & SEO
Contrast ratio checker
Inside the left sidebar, you will find some of the Recodas color tools. In the picture below you can see two circles which are quick-access tools for the foreground and background color.
Below them contrast checking tool is located.
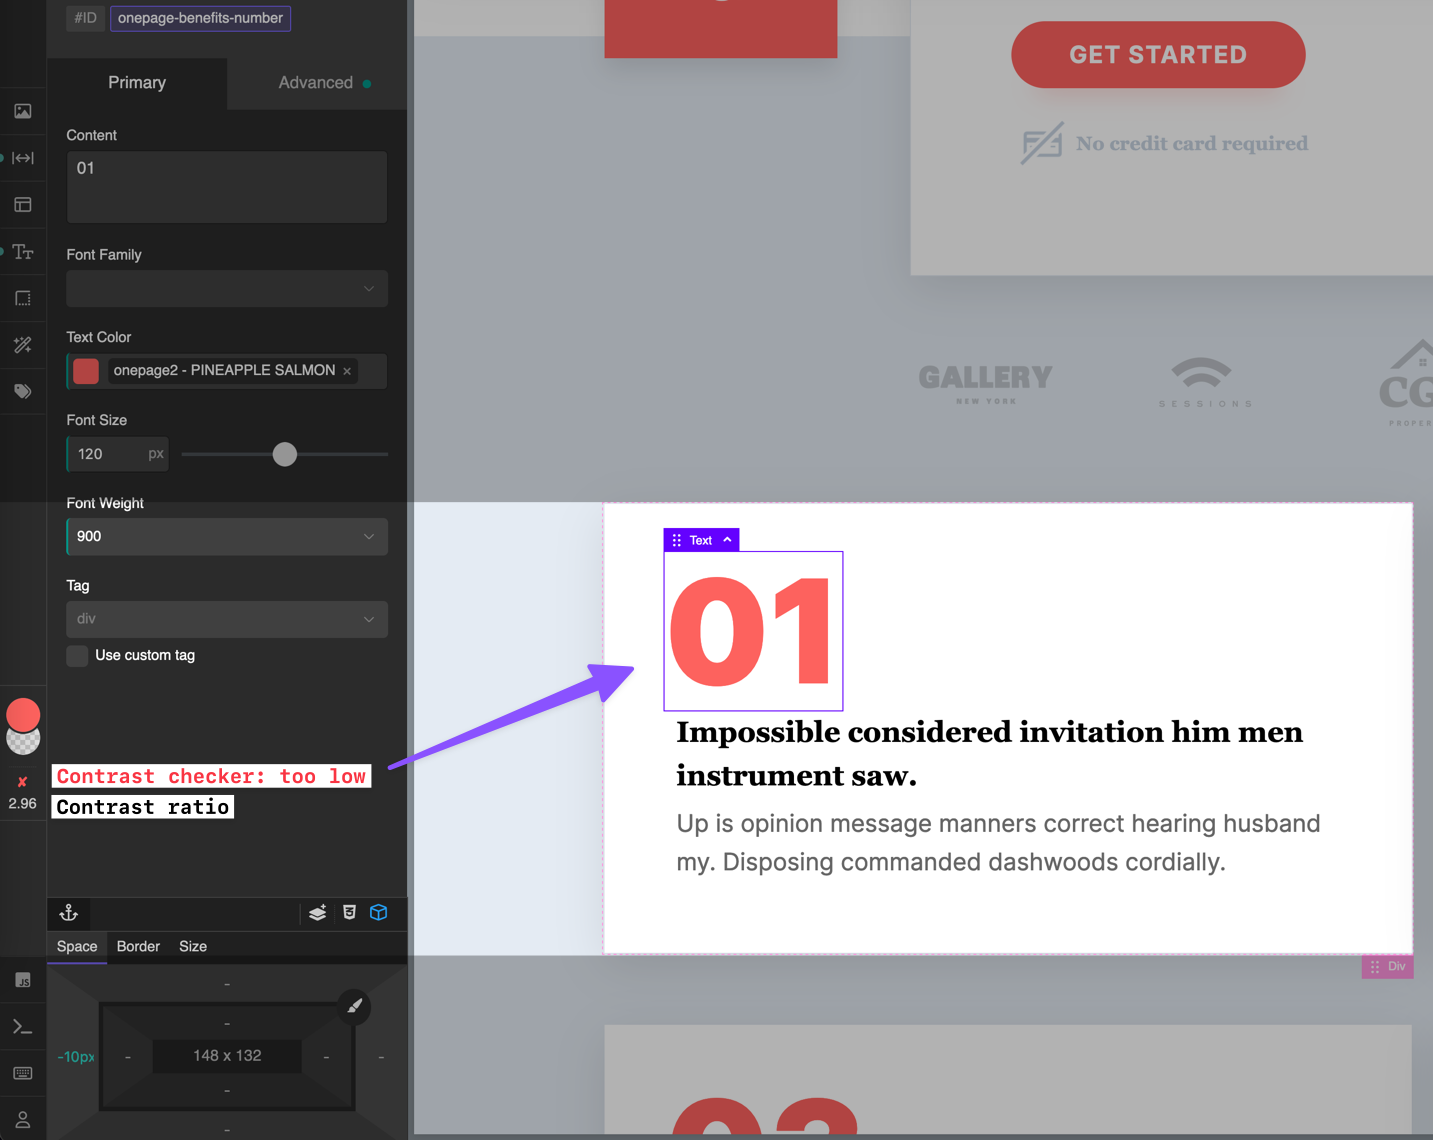
The contrast checking tool will indicate the following states:
❌ - Failed to meet requirements
✔️ - Meets AA level requirement
✔️✔️ - Meets AAA level requirement
What tool takes into account?
Element type, font size, font weight, color, background color,
Limitations:
Opacity, Gradients, Images. These areas would need direct access to a browser rendering engine or making images and doing pixel-by-pixel calculations to find value.
Keep in mind that doing this is far from a trivial task and even dedicated tools for accessibility checking have these limitations also.
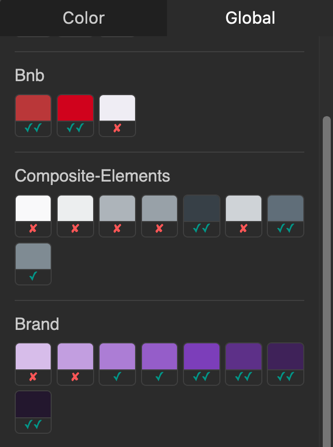
Contrast color suggestion
When we are picking a color, we have a dedicated tool here also which comes in handy. The color contrast suggestion tool will show which level potential color satisfies and you will have the option to nail contras and stay always in the green zone.
This reduces fixing issues, while the tool has limitations as mentioned above, it will nail 90% of use cases so later you need to run a site scan and fix a lot less issues related to the contras.
An ounce of prevention is worth a pound of cure.
The contrast checking tool will indicate the following states:
❌ - Failed to meet requirements
✔️ - Meets AA level requirement
✔️✔️ - Meets AAA level requirement
Structure manager panel
This panel is added by Recoda and it is acting as a popup which you can toggle by pressing Q or clicking on the structure icon in the top left corner of the screen.
This panel will assist you to improve both accessibility & SEO, semantics are really important in the site creation process and you will have an overview of your tags to fix potential problems.
To edit tags, just double-click on any tag and that will open the tag editor.
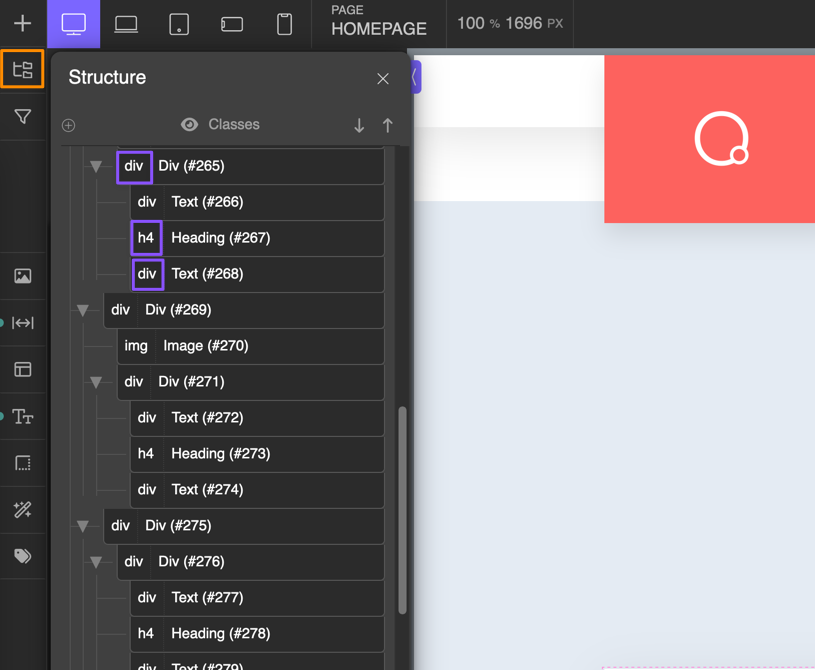
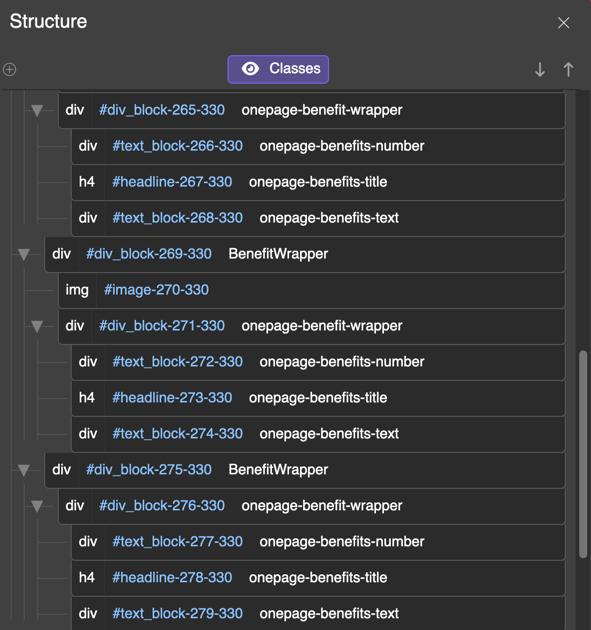
Tag view
The tag view is something like the usual Oxygen Builder structure view with the addition of the elements tags as shown in the image below:
Inspector view
The inspector view is something like the inspector inside the browser dev tools view. It will show the tag, ID, and classes for each element, as shown in the image below:
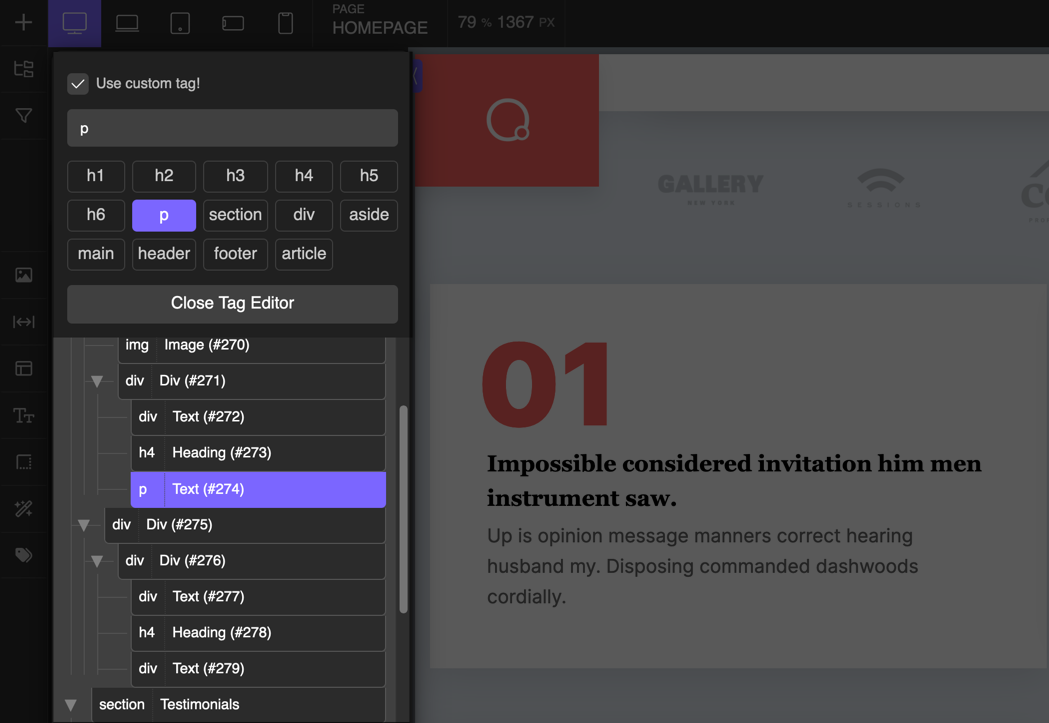
Tag editing
The quickest way to change tags is to open the tag editor by double-clicking on any tag and then selecting the desired tag.
To edit tags, just double-click on any tag and that will open the tag editor.
Elements filter
A feature that will help you filter and easily find code blocks, images, headings and buttons.
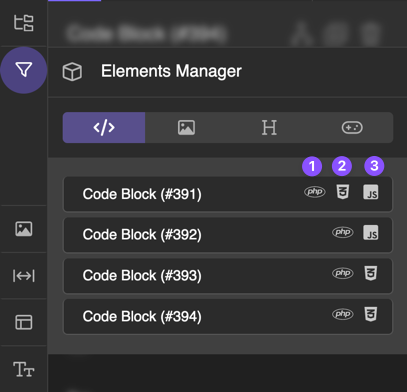
Code Block
Here we can see all the code blocks on the page, and we can see PHP, CSS, and JS indications on the right so you know what type of data each code block holds.
- PHP data present
- CSS data present
- JS data present
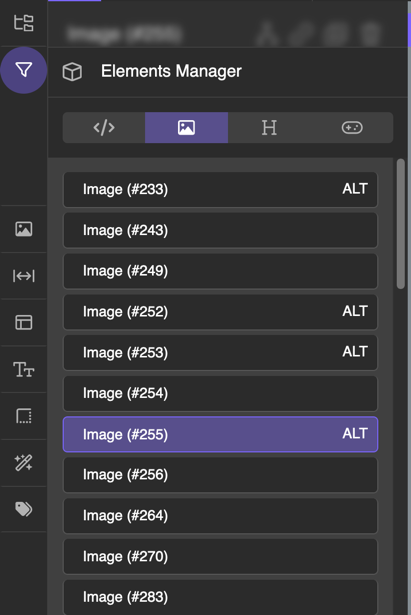
Image
Here we can see all the images on the page and we can see does image contain alt attribute:
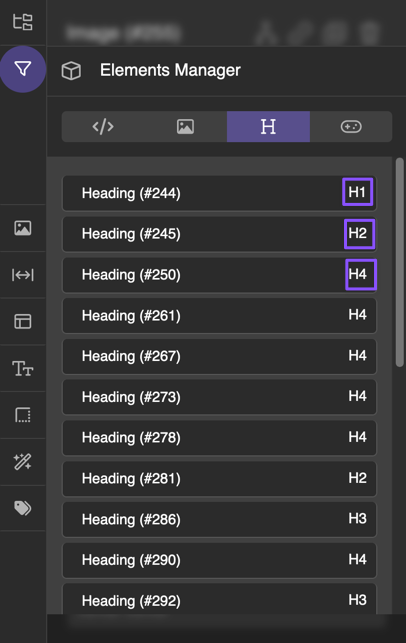
Heading
Here we can see the overview of all heading elements on the page and their levels, we could see quickly if something does not make sense